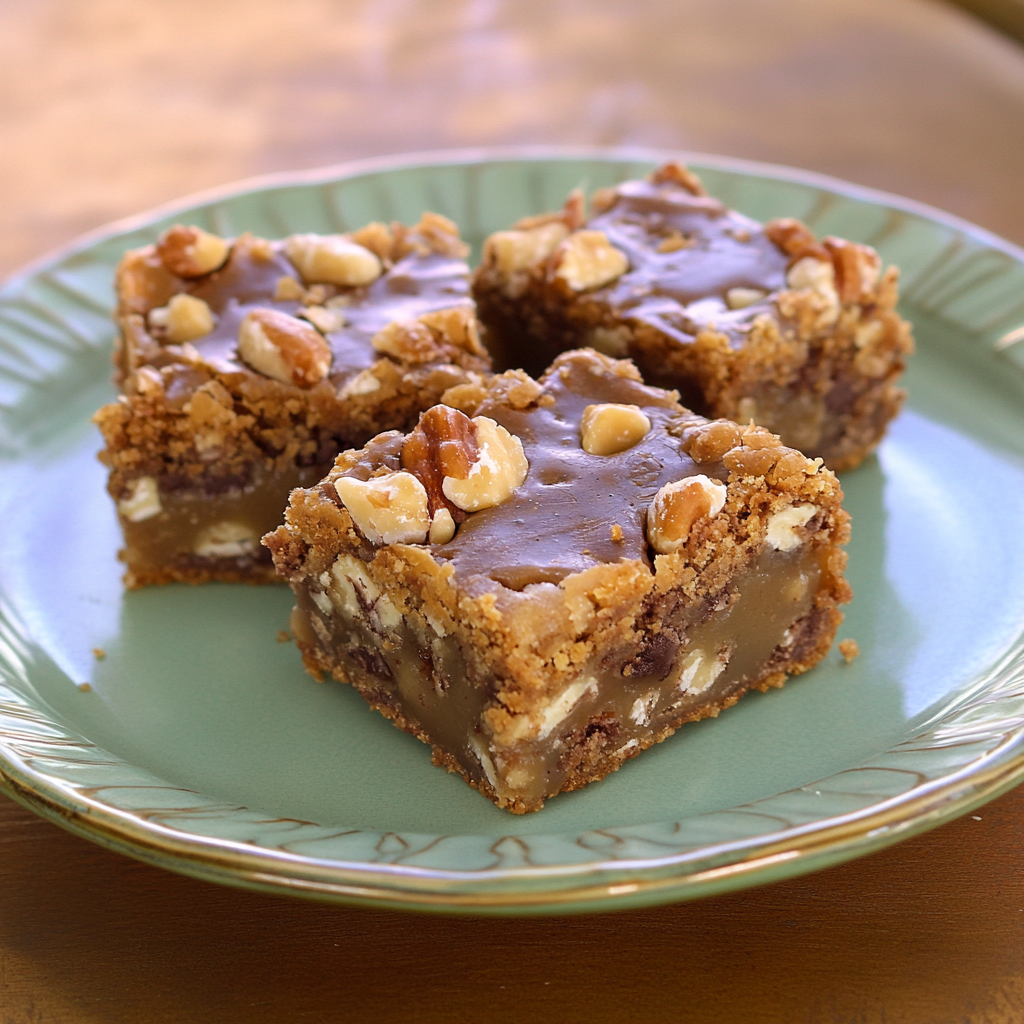
Butterfinger Cookie Bars are the ultimate treat that combines the rich, creamy flavor of peanut butter with the sweet crunch of Butterfinger candy. Imagine biting into a soft, chewy cookie bar where each mouthful is a delightful explosion of textures and flavors. These bars not only satisfy your sweet tooth but also evoke warm memories of childhood snacking and joyous moments spent with family.

Jump to:
- <strong>Essential Ingredients</strong>
- <strong>How to Make Butterfinger Cookie Bars</strong>
- <strong>Perfecting the Cooking Process</strong>
- <strong>Add Your Touch</strong>
- <strong>Storing & Reheating</strong>
- <strong>FAQ</strong>
- Can I use other candy bars instead of Butterfingers?
- How do I know when my cookie bars are done baking?
- Can I make these cookie bars gluten-free?
- What’s the best way to cut my cookie bars evenly?
- <strong>Conclusion for Butterfinger Cookie Bars</strong>
- 📖 Recipe Card
Picture this: a gathering with friends where everyone’s laughter mingles with the aroma of freshly baked goodies. When I serve these Butterfinger Cookie Bars, they disappear faster than you can say “more please!” They are perfect for any occasion, from casual coffee dates to festive celebrations, ensuring everyone leaves with a smile and a satisfied belly.
Why You'll Love This Butterfinger Cookie Bars
- This incredible Butterfinger Cookie Bars transforms simple everyday ingredients into restaurant-quality flavors that will blow your mind completely.
- Foolproof recipe techniques guarantee perfect results every single time, making even novice cooks feel like professional chefs instantly.
- Stunning visual appeal with gorgeous colors and mouthwatering aromas creates the ultimate Instagram-worthy dish for any special occasion.
- Endlessly adaptable for different dietary needs while working beautifully for meal prep, date nights, or entertaining large groups effortlessly.
Every time I bake these bars, my family’s reactions are priceless—especially when my kids declare them the “best cookies ever!” Their joy makes every crumb worth it.
Essential Ingredients
Here’s what you’ll need to make this delicious dish:
- Butter: Use unsalted butter for better control over your cookie’s overall saltiness; make sure it’s softened for easy mixing.
- Granulated Sugar: This brings sweetness and helps create that nice chewy texture in your cookie bars.
- Brown Sugar: Light or dark brown sugar adds moisture and a hint of caramel flavor; I prefer using dark for extra richness.
- Eggs: One large egg binds everything together; use room-temperature eggs for best incorporation.
- Vanilla Extract: Pure vanilla extract elevates the flavor profile; synthetic vanilla just doesn’t cut it in this case.
- All-Purpose Flour: Provides structure; be careful not to over-measure—fluff it up before scooping!
- Baking Soda: Acts as a leavening agent, giving those cookie bars just the right lift.
- Salt: A pinch enhances all the flavors; don’t skip this step!
- Butterfinger Candy Bars: Chop these up into small pieces; their chocolate-peanut buttery goodness is what makes these bars shine!
The full ingredients list, including measurements, is provided in the recipe card directly below.
How to Make Butterfinger Cookie Bars
Preheat your oven to 350°F (175°C). Line an 8×8-inch baking pan with parchment paper to ensure easy removal later. This step is crucial unless you want to go fishing for cookie bars later.
Mix together butter and sugars until creamy. This is where it gets fun—use an electric mixer on medium speed until light and fluffy, about 3-5 minutes. The mixture should look like frosting at this point.
Add in your egg and vanilla extract. Beat until fully incorporated; you want all that lovely flavor mingling together like old friends at a reunion.
In a separate bowl, whisk together flour, baking soda, and salt. Gradually add this dry mixture to the wet ingredients while mixing on low speed. You’ll know it’s ready when no flour streaks remain!
Fold in those glorious chopped Butterfingers gently; you want them evenly distributed without breaking them apart too much. Think of it as adding sprinkles to ice cream—gentle but thorough!
Spread the dough evenly in your prepared baking pan and bake for about 25-30 minutes. You’ll know they’re done when they turn golden brown on top and smell irresistible through your kitchen!
Let cool completely before slicing into generous squares—or maybe rectangles if you’re feeling adventurous! Enjoy these delectable treats warm or at room temperature—the choice is yours!
Remember to take pictures before they vanish off the plate!
You Must Know About Butterfinger Cookie Bars
- This showstopping Butterfinger Cookie Bars delivers restaurant-quality results using simple ingredients you probably already have at home.
- The perfect balance of textures and flavors creates an unforgettable dining experience that will have everyone asking for seconds.
- Picture-perfect presentation with vibrant colors makes this dish absolutely Instagram-worthy and guaranteed to impress any dinner guest.
- Incredibly versatile recipe that works beautifully for weeknight dinners, meal prep, special occasions, or even outdoor entertaining sessions.
Perfecting the Cooking Process
Start by preheating your oven to 350°F (175°C) while mixing your cookie dough. Prepare your baking dish by greasing it or lining it with parchment paper. Once mixed, spread the dough evenly in the dish and press it down firmly for a nice base. Bake for about 20-25 minutes until golden brown. As you bake, the sweet aroma of melting chocolate wafts through your kitchen, making everyone eager for a taste.
Add Your Touch
Feel free to customize your Butterfinger Cookie Bars by adding nuts or swapping out chocolate chips for peanut butter chips. Drizzle melted chocolate on top for an extra layer of indulgence. If you’re feeling adventurous, try adding a pinch of sea salt before baking for a delightful salty-sweet contrast. Remember, cooking is all about making it your own—embrace the creative process!
Storing & Reheating
Store your Butterfinger Cookie Bars in an airtight container at room temperature for up to one week. If you want to keep them longer, consider freezing them; they can last up to three months in the freezer! To reheat, pop them in the microwave for about 10-15 seconds—just enough to make the chocolate gooey again without overcooking the bars.
Chef's Helpful Tips for Butterfinger Cookie Bars
- This professional-quality Butterfinger Cookie Bars relies on precise timing and temperature control to achieve restaurant-standard results consistently.
- Master the art of mise en place by prepping all ingredients beforehand, ensuring smooth execution and preventing any last-minute cooking disasters.
- The secret lies in layering flavors throughout the cooking process rather than seasoning only at the end for maximum depth.
- Tip let the finished dish rest for optimal texture and flavor development before serving to hungry guests waiting eagerly.
When I first made these Butterfinger Cookie Bars, my friends devoured them within minutes! Their laughter echoed as they begged me for seconds—definitely a moment I cherish.
FAQ
Can I use other candy bars instead of Butterfingers?
Absolutely! While Butterfingers lend a unique crunch and flavor, you can experiment with other candy bars like Snickers or Reese’s Peanut Butter Cups. Just chop them up into small pieces and fold them into your cookie dough for a delightful twist on this classic recipe.
How do I know when my cookie bars are done baking?
Your Butterfinger Cookie Bars are ready when the edges turn golden brown and a toothpick inserted into the center comes out clean or with just a few moist crumbs attached. Be careful not to overbake; otherwise, you’ll lose that deliciously soft texture we all love.
Can I make these cookie bars gluten-free?
Yes! Substitute regular flour with a gluten-free all-purpose flour blend that includes xanthan gum. This way, you can enjoy these decadent treats without worrying about gluten sensitivity while still enjoying that same great taste!
What’s the best way to cut my cookie bars evenly?
Allow the bars to cool completely before cutting them into squares or rectangles using a sharp knife or pizza cutter. For cleaner cuts, warm your knife slightly under hot water and wipe it dry before slicing through those gooey layers of goodness.
Conclusion for Butterfinger Cookie Bars
In summary, creating irresistible Butterfinger Cookie Bars is easy with just a few straightforward steps and customizable options! Remember to focus on perfecting your baking time and temperature while being creative with add-ins that reflect your tastes. Whether you choose to share these delightful treats with friends or keep them all to yourself (we won’t judge), these cookie bars are bound to bring joy with every bite!
Did You Enjoy Making This Recipe? Please rate this recipe with ⭐⭐⭐⭐⭐ or leave a comment.
📖 Recipe Card
Print
Butterfinger Cookie Bars
- Total Time: 45 minutes
- Yield: Makes approximately 16 cookie bars 1x
Description
Butterfinger Cookie Bars are the perfect blend of creamy peanut butter and crunchy Butterfinger candy, creating an indulgent treat that everyone will love. These soft, chewy cookie bars are quick to make and ideal for sharing at gatherings or enjoying as a cozy snack at home. With their rich flavors and delightful textures, these bars evoke nostalgic memories while bringing joy to every bite.
Ingredients
- 1/2 cup unsalted butter, softened
- 1/2 cup granulated sugar
- 1/2 cup brown sugar (dark preferred)
- 1 large egg (room temperature)
- 1 tsp pure vanilla extract
- 1 1/4 cups all-purpose flour
- 1/2 tsp baking soda
- 1/4 tsp salt
- 1 cup Butterfinger candy bars, chopped
Instructions
- 1. Preheat oven to 350°F (175°C) and line an 8×8-inch baking pan with parchment paper.
- 2. In a mixing bowl, cream together the softened butter, granulated sugar, and brown sugar until light and fluffy (3-5 minutes).
- 3. Beat in the egg and vanilla extract until fully combined.
- 4. In a separate bowl, whisk together the flour, baking soda, and salt. Gradually add this mixture to the wet ingredients while mixing on low speed until just combined.
- 5. Gently fold in the chopped Butterfinger pieces.
- 6. Spread the dough evenly in the prepared pan and bake for 25-30 minutes or until golden brown on top.
- 7. Allow cooling completely before slicing into squares to serve.
- Prep Time: 15 minutes
- Cook Time: 30 minutes
- Category: Dessert
- Method: Baking
- Cuisine: American
Nutrition
- Serving Size: 1 cookie bar (50g)
- Calories: 210
- Sugar: 12g
- Sodium: 100mg
- Fat: 9g
- Saturated Fat: 5g
- Unsaturated Fat: 3g
- Trans Fat: 0g
- Carbohydrates: 31g
- Fiber: 1g
- Protein: 3g
- Cholesterol: 25mg


