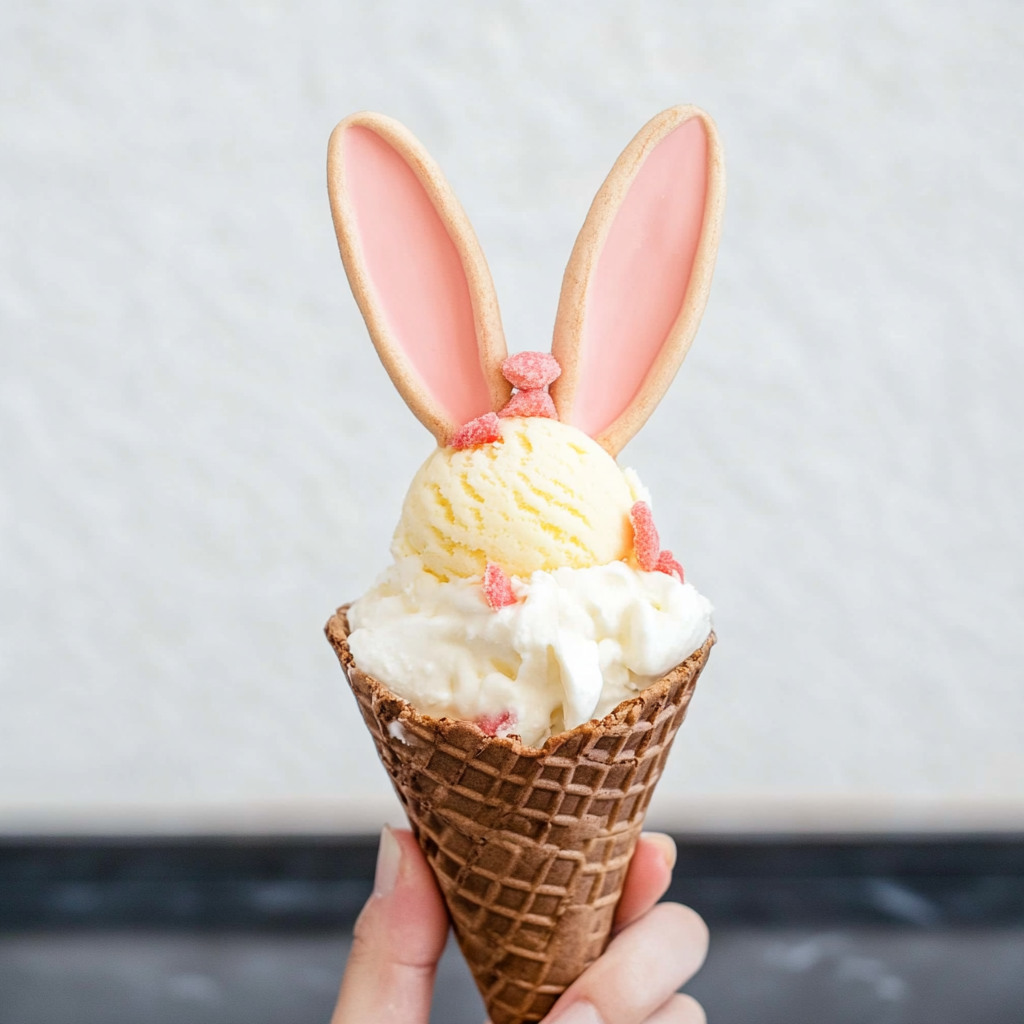
Easter Bunny Ice Cream is a whimsical treat that transforms your dessert table into a colorful wonderland. Imagine indulging in creamy, dreamy ice cream that tastes like spring itself, sprinkled with vibrant candies and topped with delightful bunny-themed decorations. This ice cream isn’t just a feast for the taste buds; it’s also a visual delight that brings smiles to faces of all ages.

Jump to:
- <strong>Essential Ingredients</strong>
- <strong>How to Make Easter Bunny Ice Cream</strong>
- <strong>Perfecting the Cooking Process</strong>
- <strong>Add Your Touch</strong>
- <strong>Storing & Reheating</strong>
- <strong>FAQ</strong>
- Can I make Easter Bunny Ice Cream without an ice cream maker?
- What are some good mix-ins for Easter Bunny Ice Cream?
- How long does homemade ice cream last in the freezer?
- Can I make this recipe vegan-friendly?
- <strong>Conclusion for Easter Bunny Ice Cream</strong>
- 📖 Recipe Card
Every Easter, my family gathers around the table, where laughter fills the air and chocolate bunnies become targets for our sweet tooth. One year, I decided to whip up this Easter Bunny Ice Cream, and let me tell you, it was an instant hit! The vibrant colors and playful flavors captured everyone’s hearts (and stomachs), making it a memorable part of our holiday celebrations.
Why You'll Love This Easter Bunny Ice Cream
- This incredible Easter Bunny Ice Cream transforms simple everyday ingredients into restaurant-quality flavors that will blow your mind completely.
- Foolproof recipe techniques guarantee perfect results every single time, making even novice cooks feel like professional chefs instantly.
- Stunning visual appeal with gorgeous colors and mouthwatering aromas creates the ultimate Instagram-worthy dish for any special occasion.
- Endlessly adaptable for different dietary needs while working beautifully for meal prep, date nights, or entertaining large groups effortlessly.
I can still picture my niece’s eyes lighting up as she took her first scoop; it’s moments like these that make cooking so rewarding.
Essential Ingredients
Here’s what you’ll need to make this delicious dish:
-
Heavy Cream: Use fresh heavy cream for a rich and creamy texture that makes every bite melt in your mouth.
-
Sweetened Condensed Milk: This magical ingredient adds sweetness and creaminess without the need for churning.
-
Vanilla Extract: Opt for pure vanilla extract to enhance the flavor profile and add depth to your ice cream.
-
Food Coloring: Choose vibrant colors to create fun pastel shades that capture the essence of Easter.
-
Candy Decorations: Use assorted candies like mini chocolates or jelly beans to give your ice cream festive flair.
The full ingredients list, including measurements, is provided in the recipe card directly below.
How to Make Easter Bunny Ice Cream
Create the Base: In a large bowl, whisk together the heavy cream and sweetened condensed milk until smooth and creamy. The mixture should be thickened slightly but not overly whipped.
Add Flavoring: Stir in vanilla extract to elevate the flavor profile. The aroma will transport you straight into dessert heaven—trust me on this.
Color It Up: Divide the mixture into separate bowls based on how many colors you want. Add food coloring drop by drop until you achieve your desired pastel shades—think of a rainbow after a spring rain!
Layer It Up: In a suitable container, layer the different colored mixtures one after another. Swirl them gently with a knife for a marbled effect—don’t go too crazy; we want some color contrast!
Add Candy Goodness: Sprinkle candy decorations on top of each layer as you go along. Feel free to mix them into layers too; I love crunching on candies hidden inside my ice cream!
Freeze & Enjoy!: Cover tightly with plastic wrap and freeze for at least 6 hours or overnight if possible. Once frozen solid, scoop out your delightful Easter Bunny Ice Cream and serve it up with even more candy on top if you’re feeling adventurous!
This whimsical creation is not only delicious but also brings out the inner child in all of us during those festive gatherings. Each scoop is bursting with flavor and nostalgia that will have everyone asking for seconds (or thirds).
So there you have it—your guide to making the most delightful Easter Bunny Ice Cream! With its playful colors and fantastic flavors, it’s sure to become a beloved tradition at your holiday celebrations too!
You Must Know About Easter Bunny Ice Cream
- This showstopping Easter Bunny Ice Cream delivers restaurant-quality results using simple ingredients you probably already have at home.
- The perfect balance of textures and flavors creates an unforgettable dining experience that will have everyone asking for seconds.
- Picture-perfect presentation with vibrant colors makes this dish absolutely Instagram-worthy and guaranteed to impress any dinner guest.
- Incredibly versatile recipe that works beautifully for weeknight dinners, meal prep, special occasions, or even outdoor entertaining sessions.
Perfecting the Cooking Process
Start by making your ice cream base first; chilling it while preparing the mix-ins saves time and enhances flavor. Once your base is ready, fold in your favorite Easter-themed goodies like chocolate eggs or pastel sprinkles. Freeze the mixture in a quality container, ensuring even distribution for a creamy texture.
Add Your Touch
Feel free to swap out heavy cream for coconut milk if you’re looking for a dairy-free option. Get creative with mix-ins like crushed cookies, fruit chunks, or even a splash of flavored extracts! If you’re feeling adventurous, try adding a ribbon of caramel or chocolate sauce before freezing for an added surprise.
Storing & Reheating
Store your Easter Bunny Ice Cream in an airtight container to maintain its freshness. For optimal texture, let it sit at room temperature for about 5-10 minutes before scooping to soften slightly. This ensures you won’t end up wrestling with a frozen block while serving your guests.
Chef's Helpful Tips for Easter Bunny Ice Cream
- This professional-quality Easter Bunny Ice Cream relies on precise timing and temperature control to achieve restaurant-standard results consistently.
- Master the art of mise en place by prepping all ingredients beforehand, ensuring smooth execution and preventing any last-minute cooking disasters.
- The secret lies in layering flavors throughout the cooking process rather than seasoning only at the end for maximum depth.
- Tip let the finished dish rest for optimal texture and flavor development before serving to hungry guests waiting eagerly.
Sharing this ice cream recipe reminds me of last Easter when my family devoured it within minutes! My little niece declared it “the best thing ever,” which felt like winning an Oscar in my kitchen.
FAQ
Can I make Easter Bunny Ice Cream without an ice cream maker?
Absolutely! Simply whisk together the ingredients until combined and pour them into a freezer-safe container. Stir every 30 minutes during freezing to create a creamy texture instead of ice crystals.
What are some good mix-ins for Easter Bunny Ice Cream?
Mix-ins can include crushed candies like Cadbury Mini Eggs, colorful sprinkles, or even fresh berries! Experimenting with different textures adds fun surprises in every scoop.
How long does homemade ice cream last in the freezer?
Homemade ice cream can last up to two weeks if stored properly in an airtight container. However, for the best taste and texture, try to enjoy it within one week!
Can I make this recipe vegan-friendly?
Yes! Substitute dairy products with coconut milk or almond milk and use vegan-friendly chocolate or candy options. Your Easter Bunny Ice Cream will still be deliciously creamy!
Conclusion for Easter Bunny Ice Cream
Easter Bunny Ice Cream combines easy preparation with fun creativity! Remember to start with your base first, customize it with delightful mix-ins, and store it correctly for the best results. Whether celebrating holidays or simply indulging on a sunny afternoon, this delightful treat is sure to bring smiles all around!
Did You Enjoy Making This Recipe? Please rate this recipe with ⭐⭐⭐⭐⭐ or leave a comment.
📖 Recipe Card
Print
Easter Bunny Ice Cream
- Total Time: 0 hours
- Yield: Approximately 4 servings 1x
Description
Easter Bunny Ice Cream is a delightful, colorful treat that captures the spirit of spring. This no-churn recipe combines rich heavy cream and sweetened condensed milk for a creamy texture, enhanced by vibrant colors and festive candy decorations. Perfect for family gatherings, this whimsical dessert will be the star of your Easter celebrations, bringing smiles and joy with every scoop.
Ingredients
- 2 cups heavy cream
- 1 cup sweetened condensed milk
- 2 tsp pure vanilla extract
- Food coloring (various pastel shades)
- Assorted candy decorations (e.g., mini chocolates, jelly beans)
Instructions
- In a large bowl, whisk together heavy cream and sweetened condensed milk until smooth.
- Stir in vanilla extract for flavor.
- Divide mixture into separate bowls and add food coloring to achieve desired pastel shades.
- Layer colored mixtures in a freezer-safe container, swirling gently to create a marbled effect.
- Sprinkle candy decorations on each layer as desired.
- Cover tightly with plastic wrap and freeze for at least 6 hours or overnight before serving.
- Prep Time: 15 minutes
- Cook Time: None
- Category: Dessert
- Method: Freezing
- Cuisine: American
Nutrition
- Serving Size: ½ cup (120g)
- Calories: 350
- Sugar: 28g
- Sodium: 50mg
- Fat: 24g
- Saturated Fat: 15g
- Unsaturated Fat: 8g
- Trans Fat: 0g
- Carbohydrates: 30g
- Fiber: 0g
- Protein: 3g
- Cholesterol: 90mg


