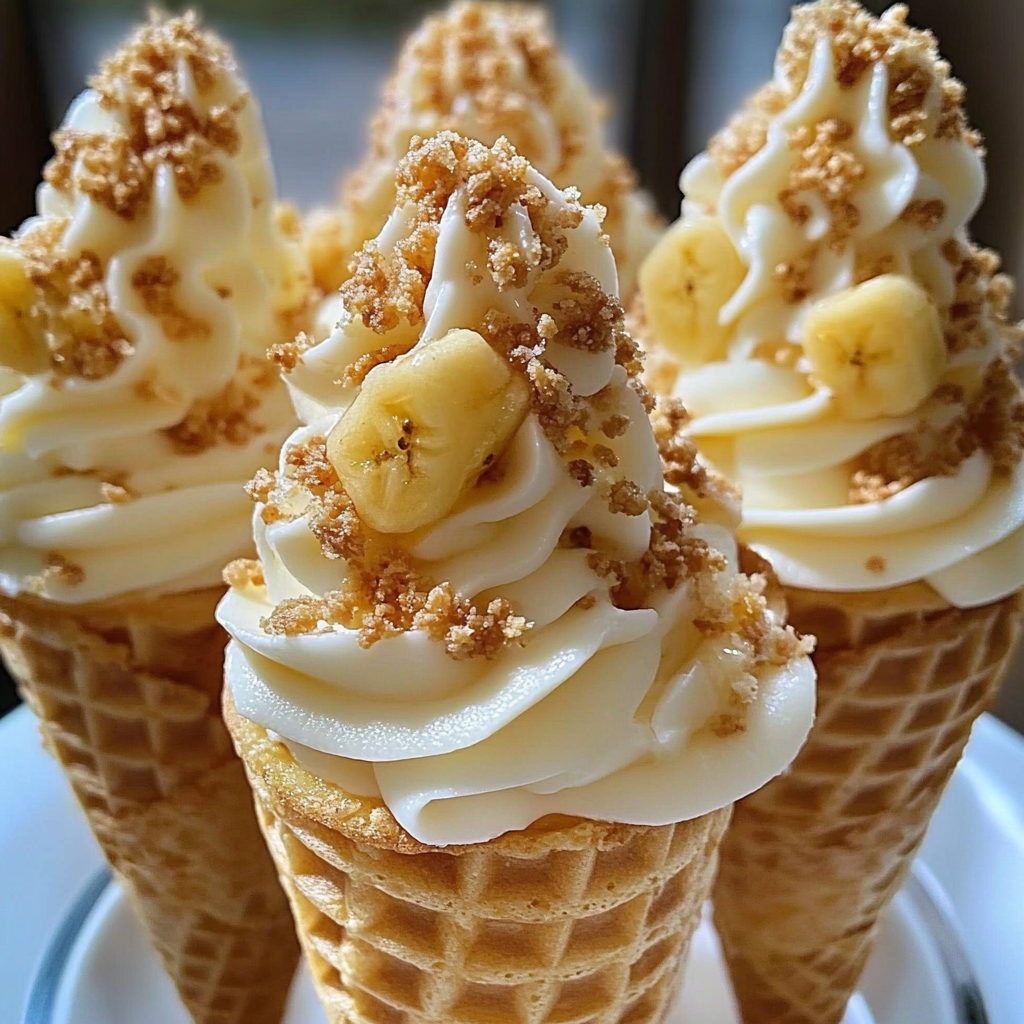
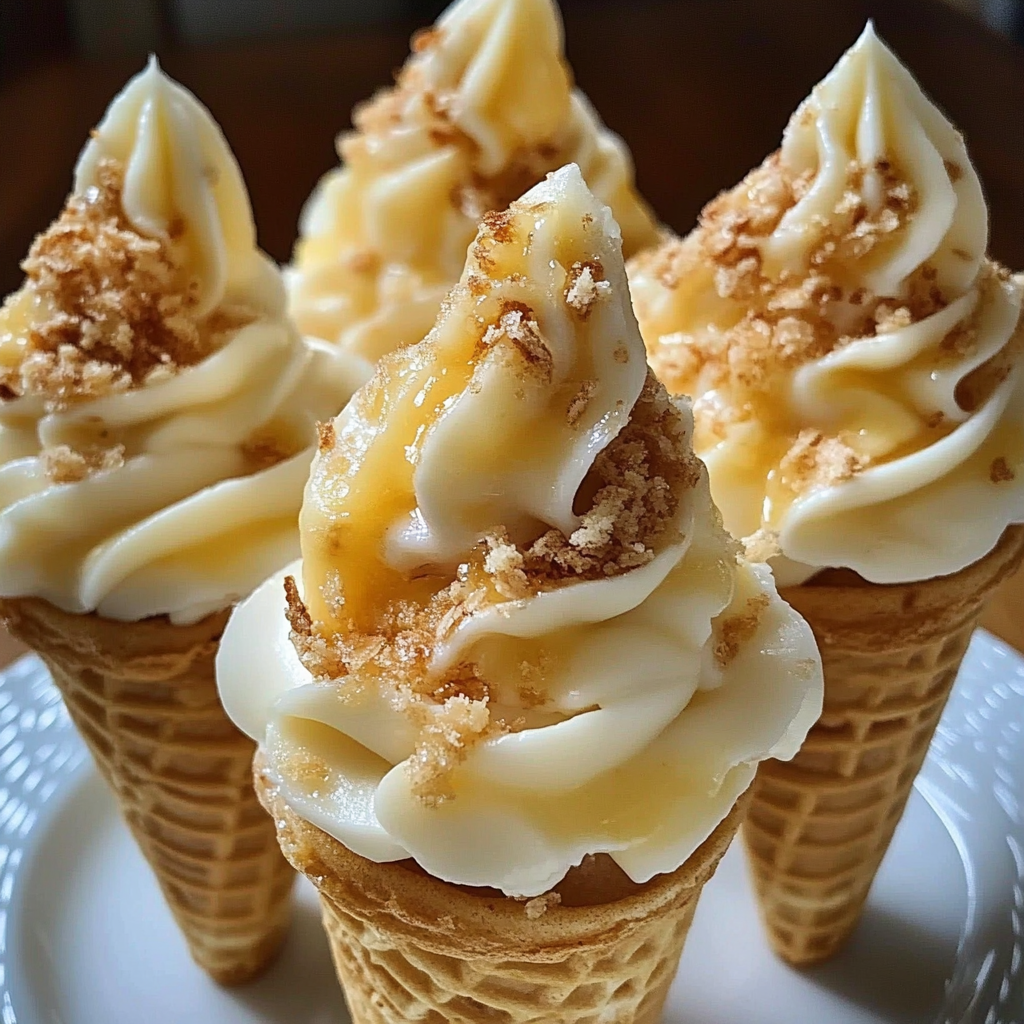
When you think of dessert, what comes to mind? A gooey chocolate cake with a molten middle? Perhaps a fruit tart bursting with summer’s ripe flavors? Well, let me introduce you to the magical world of Banana Pudding Cheesecake Cones. Picture this: creamy cheesecake filling, dreamy banana pudding, and a crunchy cone that’s just waiting to be devoured. Each bite is a delightful explosion of textures and flavors, making it the perfect treat for any occasion.

Jump to:
- <strong>Essential Ingredients</strong>
- <strong>Let’s Make it together</strong>
- <strong>Perfecting the Cooking Process</strong>
- <strong>Add Your Touch</strong>
- <strong>Storing & Reheating</strong>
- <strong>FAQ</strong>
- Can I use different fruit in banana pudding cheesecake cones?
- How long can I store leftover banana pudding cheesecake filling?
- Can I make these banana pudding cheesecake cones ahead of time?
- 📖 Recipe Card
Now, imagine sharing these whimsical cones at your next gathering. The kids will be clamoring for more, while adults reminisce about childhood desserts that make them feel young again. As you serve these beauties, watch as everyone’s eyes light up with anticipation—a dessert that’s not only delicious but also fun to eat! It’s the kind of treat that sparks joy and laughter around the table.
Why You'll Love This Recipe
- These Banana Pudding Cheesecake Cones are easy to whip up and perfect for any event
- The combination of flavors creates a unique taste sensation that’s visually appealing too
- They’re versatile enough to customize with various toppings, and they look stunning on any dessert table
I remember the first time I made these cones; my friends were so impressed they started taking pictures before even tasting them.

Essential Ingredients
Here’s what you’ll need to make this delicious dish:
Graham Cracker Crumbs: Use finely crushed graham crackers for the base; they add a wonderful crunch and sweetness.
Butter: Melted butter binds the crumbs together, giving your crust that irresistible richness.
Cream Cheese: Choose full-fat cream cheese for a rich and creamy texture in your cheesecake filling.
Sugar: Granulated sugar will sweeten the filling perfectly; adjust according to your taste preference.
Vanilla Extract: A splash of pure vanilla extract enhances all the flavors beautifully—don’t skimp on this!
Banana Pudding Mix: Instant banana pudding mix brings that nostalgic flavor without needing hours of cooking.
Milk: Whole milk works best here; it helps create a smooth and silky pudding consistency.
Bananas: Ripe bananas are essential; they add natural sweetness and flavor to your dessert.
Ice Cream Cones: Choose your favorite type—waffle cones or sugar cones both work wonderfully!
The full ingredients list, including measurements, is provided in the recipe card directly below.
Let’s Make it together
Create the Crust: Combine graham cracker crumbs and melted butter in a bowl until well mixed. Press this mixture firmly into the bottom of each cone using your fingers.
Prepare the Cheesecake Filling: In another bowl, beat cream cheese until smooth. Gradually add sugar and vanilla extract while mixing until creamy and well combined.
Make the Banana Pudding Mixture: Whisk together banana pudding mix and milk in a separate bowl until thickened, about two minutes. Fold this mixture into the cream cheese filling gently.
Add Bananas to the Mix: Slice ripe bananas into thin rounds and fold them into your cheesecake-banana mixture for added texture and flavor.
Fill Your Cones: Spoon or pipe generous amounts of your banana cheesecake filling into each cone until overflowing—because who can resist an overstuffed cone?
Chill Before Serving: Place filled cones upright in a cup or muffin tin in the fridge for at least 30 minutes before serving. This helps everything set nicely while enhancing those amazing flavors.
Enjoying Banana Pudding Cheesecake Cones is like biting into nostalgia wrapped in joy! Each cone serves up smiles along with a sweet treat, making them ideal for birthday parties, family gatherings, or just because it’s Tuesday—and we all know we deserve ice cream on Tuesdays!
You Must Know
- Banana pudding cheesecake cones are a fun twist on traditional desserts
- The creamy filling paired with crunchy cones creates an irresistible treat
- Perfect for parties or a cozy night in, these cones are sure to impress your guests and satisfy your sweet tooth
Perfecting the Cooking Process
Start by preparing the cheesecake filling first, letting it chill while you assemble the cones. This ensures a smooth, creamy texture that holds perfectly inside the cone.

Add Your Touch
Feel free to substitute vanilla wafers with crushed graham crackers for a different flavor profile. Top with chocolate chips or fresh berries for an extra burst of flavor.
Storing & Reheating
Store any leftover banana pudding cheesecake filling in an airtight container in the refrigerator for up to three days. Avoid filling the cones until ready to serve to keep them crunchy.
Chef's Helpful Tips
- Use ripe bananas for maximum sweetness and flavor; they’ll enhance your filling beautifully
- Make sure to whip your cream until stiff peaks form for a fluffy texture
- Avoid overfilling the cones to prevent spills and ensure easy handling
Creating these banana pudding cheesecake cones reminds me of a summer cookout where everyone dug into dessert with pure delight, leaving nothing but crumbs behind.

FAQ
Can I use different fruit in banana pudding cheesecake cones?
Absolutely! Strawberries or peaches work wonderfully and add exciting flavors.
How long can I store leftover banana pudding cheesecake filling?
You can keep the filling in the fridge for up to three days without issues.
Can I make these banana pudding cheesecake cones ahead of time?
Yes, prepare the filling ahead but wait to fill the cones until just before serving.
Did You Enjoy Making This Recipe? Please rate this recipe with ⭐⭐⭐⭐⭐ or leave a comment.
📖 Recipe Card
Print
Delightful Banana Pudding Cheesecake Cones
- Total Time: 20 minutes
- Yield: Serves 6 cones 1x
Description
Indulge in the whimsical fusion of flavors with these Banana Pudding Cheesecake Cones. Each crispy cone is filled with a creamy cheesecake mixture, rich banana pudding, and fresh banana slices, creating a delightful dessert that’s perfect for any gathering. Easy to make and irresistibly tasty, these cones are sure to be the highlight of your dessert table!
Ingredients
- 1 cup graham cracker crumbs
- 4 tbsp melted butter
- 8 oz cream cheese (full-fat)
- ½ cup granulated sugar
- 1 tsp vanilla extract
- 3.4 oz instant banana pudding mix
- 1 cup whole milk
- 2 ripe bananas, sliced
- 6 ice cream cones
Instructions
- Create the Crust: Mix graham cracker crumbs with melted butter until combined. Press firmly into the bottom of each cone.
- Prepare the Cheesecake Filling: Beat cream cheese until smooth, then add sugar and vanilla extract until creamy.
- Make the Banana Pudding: Whisk together banana pudding mix and milk for about two minutes until thickened. Fold into the cream cheese mixture.
- Add Bananas: Gently fold in sliced bananas into the filling mixture.
- Fill Your Cones: Generously spoon or pipe the banana cheesecake filling into each cone.
- Chill: Place filled cones upright in a container and refrigerate for at least 30 minutes before serving.
- Prep Time: 20 minutes
- Cook Time: 0 minutes
- Category: Dessert
- Method: No cooking involved
- Cuisine: American
Nutrition
- Serving Size: 1 cone (approximately 100g)
- Calories: 350
- Sugar: 22g
- Sodium: 220mg
- Fat: 18g
- Saturated Fat: 10g
- Unsaturated Fat: 7g
- Trans Fat: 0g
- Carbohydrates: 43g
- Fiber: 1g
- Protein: 4g
- Cholesterol: 45mg


